Intro
If you type in “fast prototyping in 2020” you’ll obviously get a lot of results discussing prototyping tools. This is what you wanted, right? But is this what you actually need?
If you are absolutely clear about what you want to archive with a prototype this blog post is probably not for you. There are plenty of people looking for quick and lightweight solutions in order to test ideas. Let me tell you upfront: it is possible to prototype and test ideas without installing and learning new software. Hint: It’s not about paper prototyping.
Let’s break down what we want to have achieved at the end of the day. There is an idea for a new feature or an issue some users have at a certain point while using your software. This calls for ideation first. Ideally there are already some ideas and we want to test these. Best case would be having real people testing these ideas.
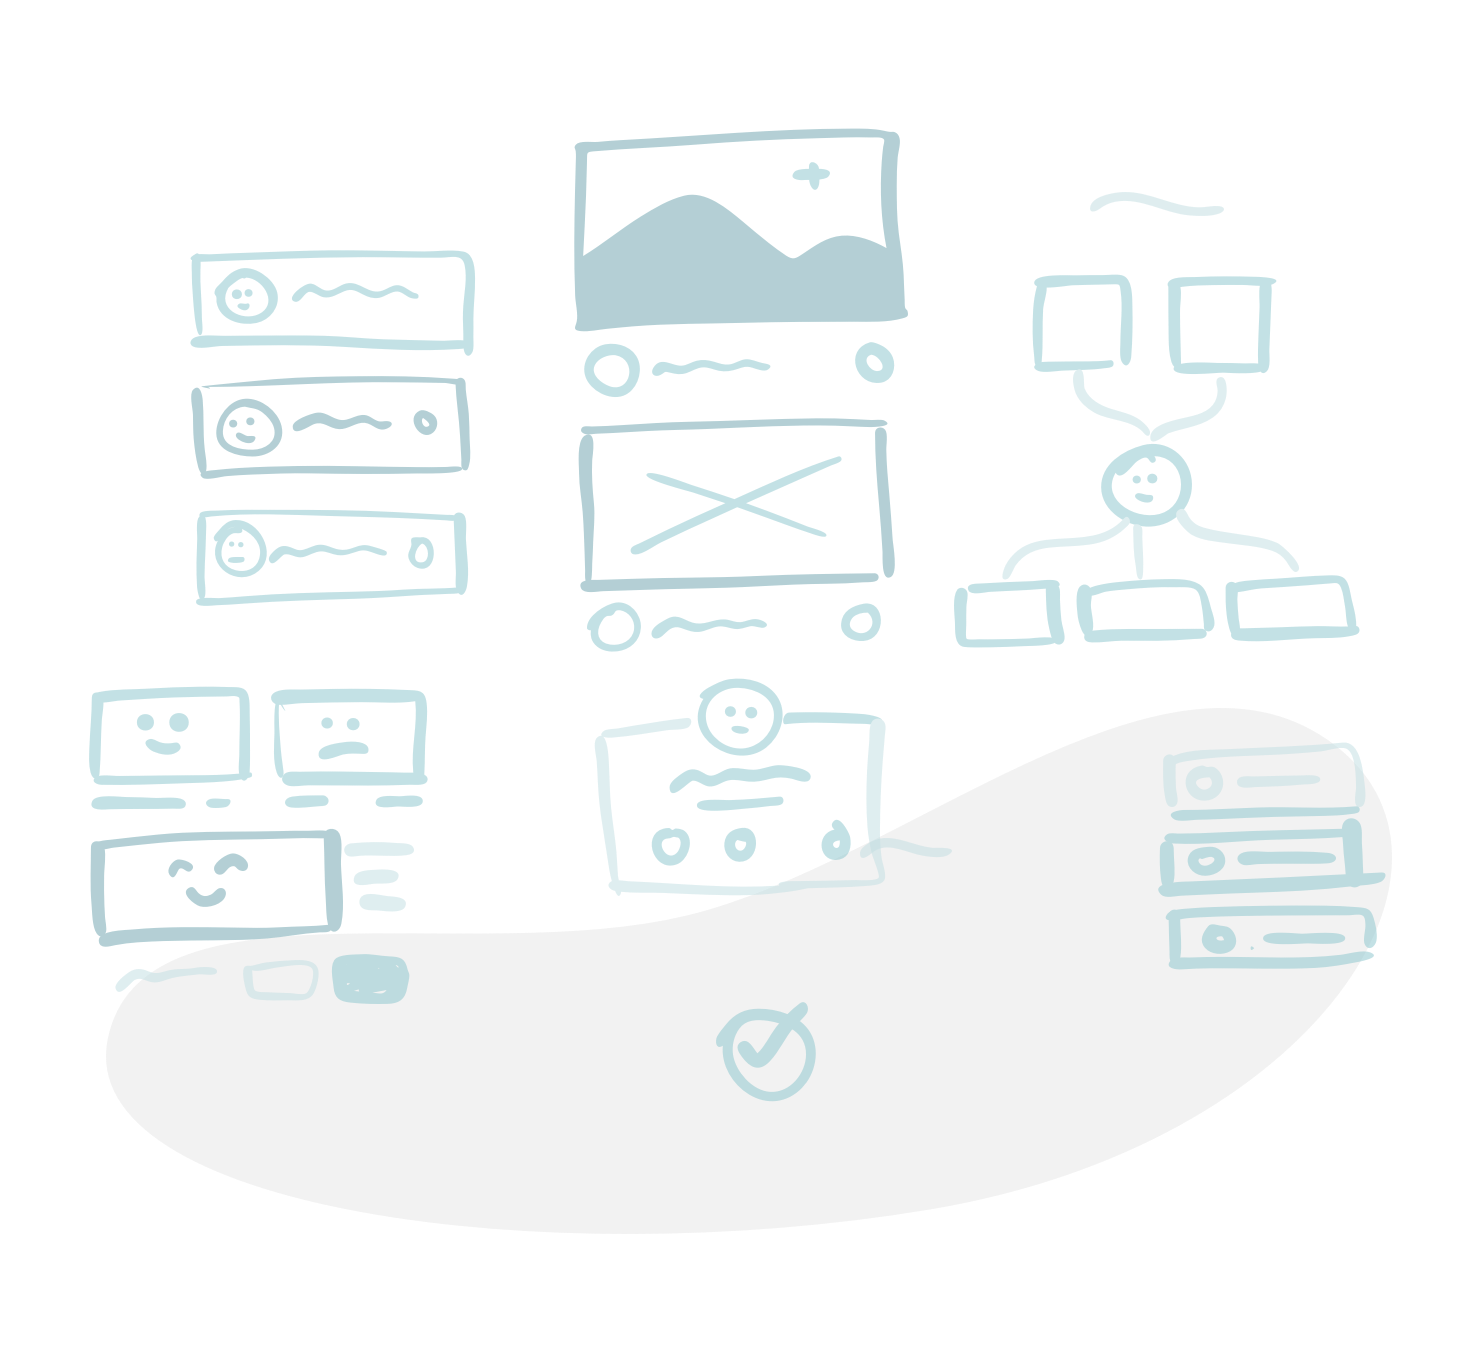
Building a prototype out of an idea is easy. You can simply draw some rectangles and connect views together, to make it an interactive prototype. Everyone has software on the machine that enables people doing that.
Presentation building software
Many people are familiar with at least one presentation building software. Often it’s a hate-love relationship and I totally get that. I am usually working with Figma, XD or Sketch. Working with Powerpoint always drives me insane. There are so many things that don’t make any sense. But that’s not what I want to discuss in this post. The important thing is that most people have Powerpoint or Keynote installed on their working machine.
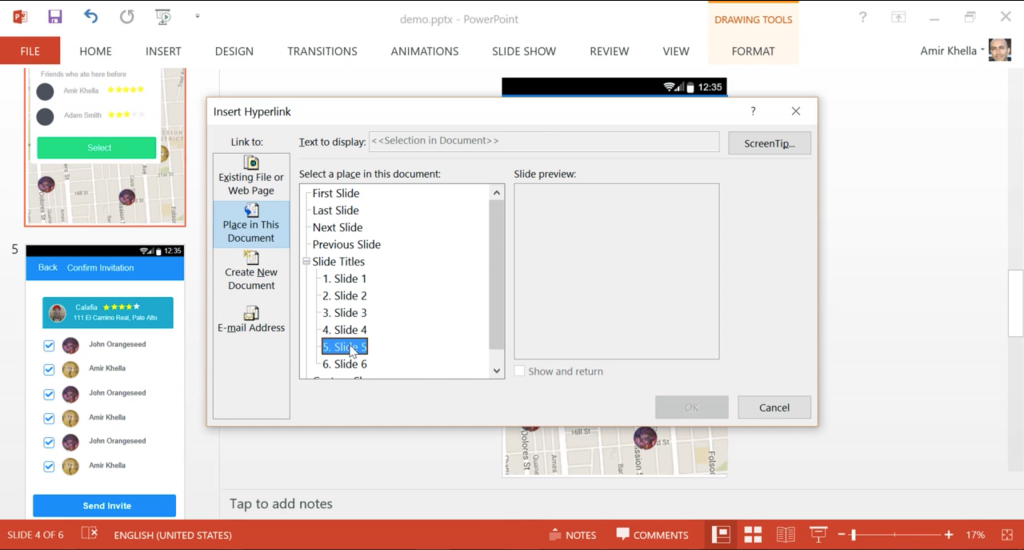
Did you know that presentation software makes great prototyping tools? It has all the essentials on board. It comes with the basic vector shapes, solid/gradient fills, strong layout engine, and the ability to create hyperlinks between slides. You also can invite others to collaborate on a prototype. This alone makes it a great tool for laying out UI screens quickly. Then linking them together so that you can interact with them the same way you would do with a real app or website. There are plenty of useful tutorials on how to build quick prototypes with Powerpoint or Keynote.
We have the software. Now it’s time to get into making. This part describes the mandatory steps, without looking too much at the software. Everythings that follows should be done no matter the software.
When the ideation phase is over I assume we have some solid ideas to work with. Next step is to validate and choose one idea that eventually is going to be designed and developed. In order to test ideas with people you’ll need something tangible that can be validated.
Planning
Ideally there is a story that people follow while working with a prototype. You need to be clear about the starting point and the end point and everything in between. Best way to get a grasp on that is to quickly draw a plan on a sheet of paper. What should be seen on screen A, on screen B, where are the connectors and the potential switches? Make sure you only have the essential details showing in order to keep focus on what the prototype is about.

Building
Using presentation software is a great way to quickly layouting ideas and connect screens with each other. How that can be done fast and effective is explained here. It is important to know on what device the testing is going to happen. Make sure your slides have the right dimensions under “page setup”. Next would be choosing whether you want to use a pre-built slide deck with plenty of elements to choose from or building your own elements from scratch. Ask Google about “Powerpoint/Keynote prototyping element slides” to have something to start with.
Link all the slides together and make sure to test it regularly for yourself. Then, if you feel this would be necessary, you can add transitions to every element on a slide. (Yup!) Not only the slide change itself can have a nice transition. Also every little element can have it’s own transition. That is where the real magic happens. But for the sake of fast prototyping I suggest to keep it simple. It’s about testing ideas. If transitioning is part of the idea it would be totally fine. But don’t over design things. Focus is key. It’s the story you want to validate. Not the cool transitioning.
Testing
Get the prototype on the street. If you test on a mobile device, save your presentation to a cloud drive, such as OneDrive or DropBox, and open it in the PowerPoint app on your Android or iOS device. There are many (right and wrong) ways to make user tests. This is not part of this quick introduction. If you want to learn more about testing prototypes, hop over to Digitalskillsglobal.com. They give a good overview about how to test prototypes.

Documentation
There are plenty of ways to document prototyping tests. It highly depends on the complexity of the tested prototype and the different resources you have available. From my point of view it makes sense to record the testing with a camera. Often the simplest interactions are the most important and getting lost while writing something down or speaking to the participant. Video combined with a written summary also is a great way to communicate results to other stakeholders of the project. I am a big fan of video. There, I said it.
Summary
In order to quickly validate ideas in a lab like environment, keeping it simple and safe is key. We have looked at two of the most common tools we all have on our computers and the necessary steps to create prototypes. This enables not only designers to create fast and reliable test settings, but also researches and developers can wear the lab coat and dive into the testing environment. In the end it helps everyone to have profound information about what the next steps in the development cycle are. That eventually saves a lot of time and financial efforts.
If you want to know more about our overall design approach head over to D-LABS.com